Install ResoluteCall on Windows, macOS, iPhone or Android. Sign in with the extension and password from your administrator — the same account works on every device.
Step 1. Run the Resolutecall Setup 1.0.1.exe file — the installation window will open.
Step 2. If Windows shows a “Windows protected your PC” SmartScreen notice, click More info. Only continue if you downloaded the installer from resolutecall.com.
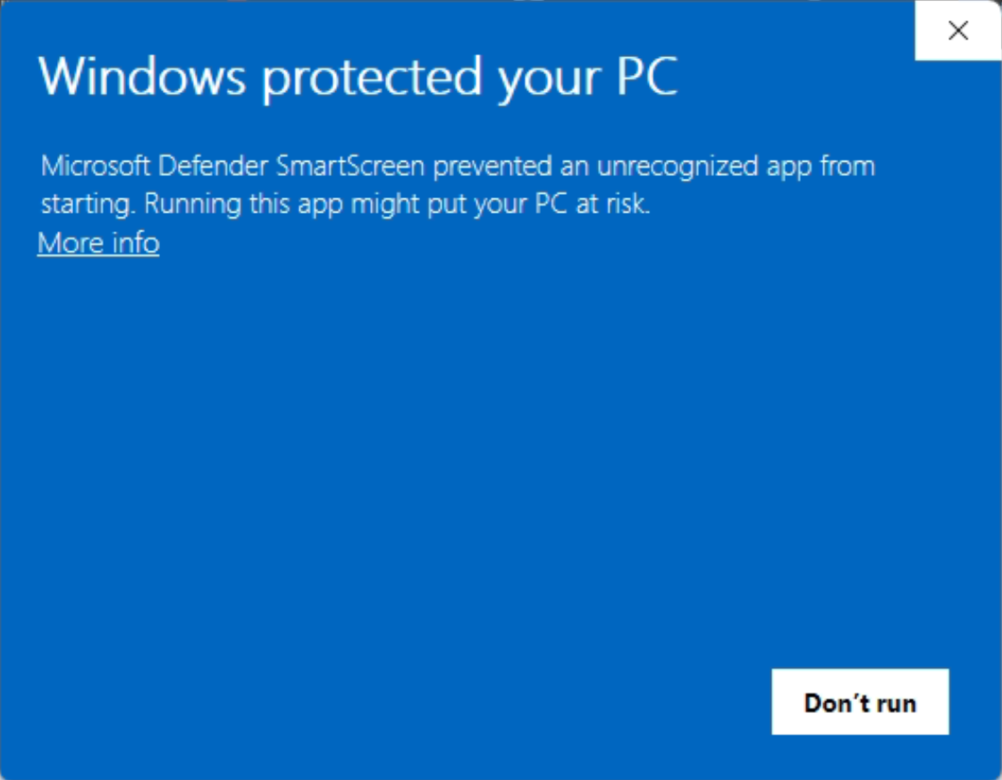
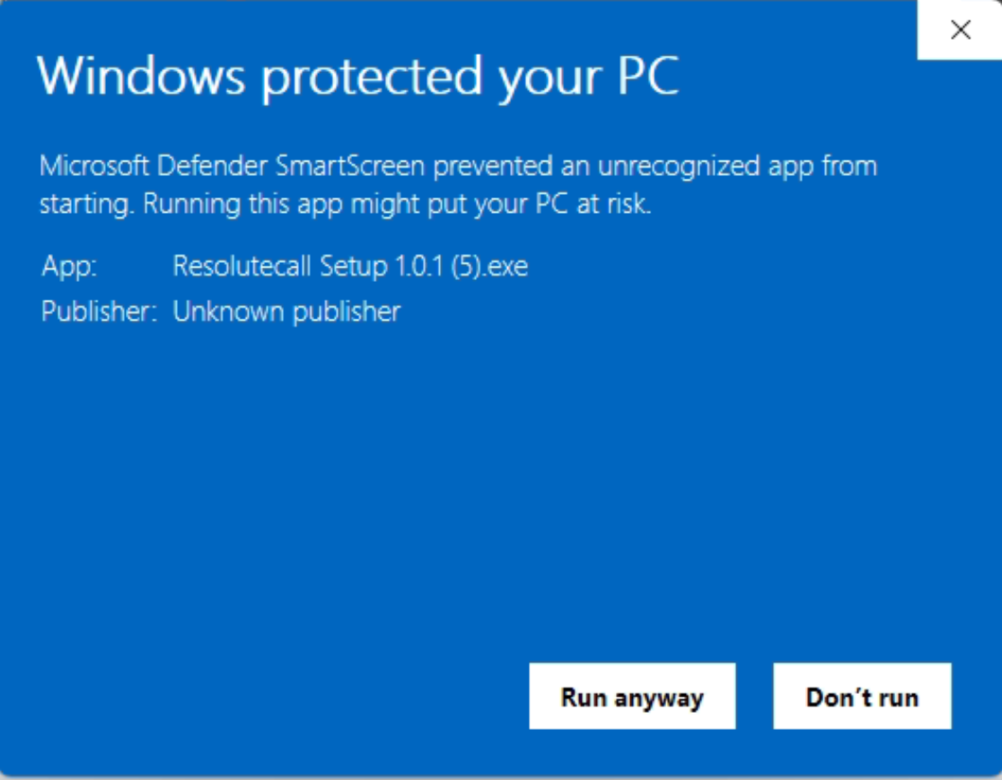
Step 3. Check that the app name reads Resolutecall Setup…, then click Run anyway. If you have any doubt, contact support before installing.
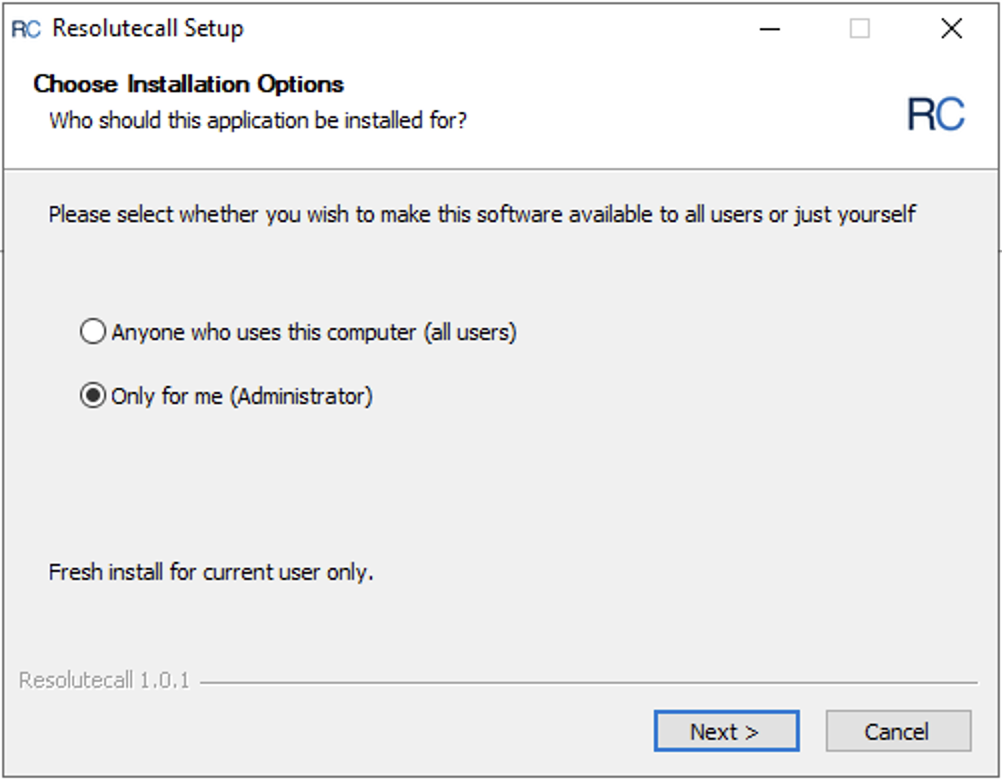
Step 4. Choose who the app should be installed for. Only for me installs without needing admin rights; Anyone who uses this computer installs for all users but requires admin access. Then click Next.
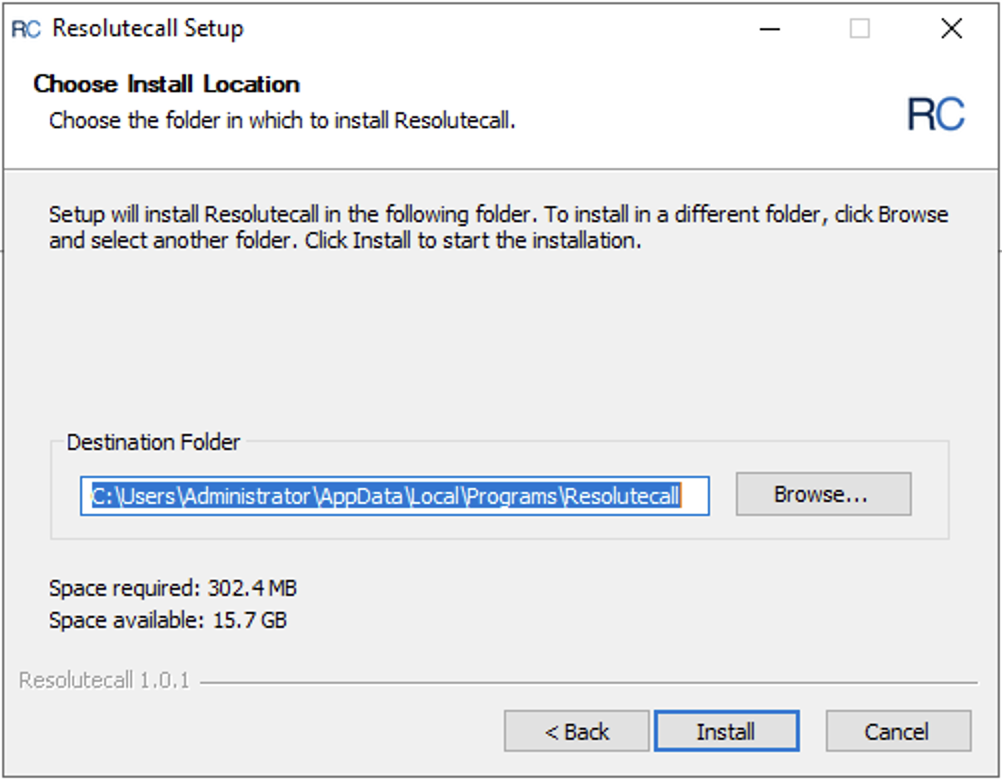
Step 5. Choose the installation folder or use the default location, then click Install.
Default (per-user): C:\Users\<you>\AppData\Local\Programs\Resolutecall
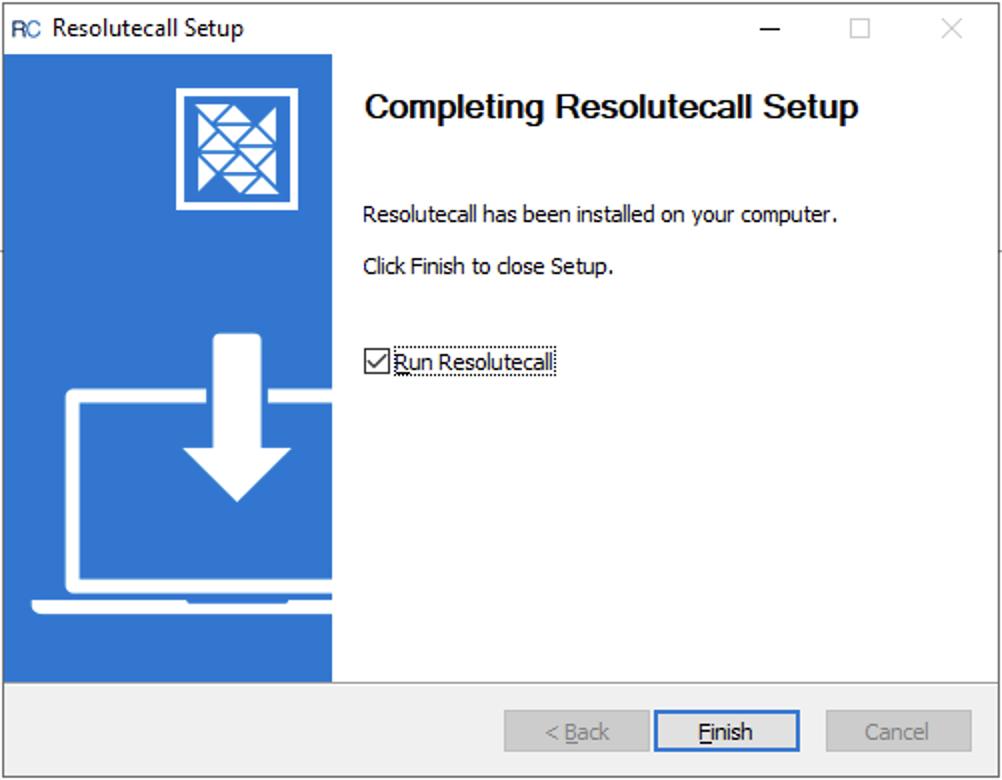
Step 6. Once the installation is complete, leave Run Resolutecall checked and click Finish to close the setup wizard and launch the app.
Step 1. Choose the right download. Macs with an M1, M2, M3 or M4 chip need Apple Silicon; older Macs need Intel. Not sure? Open the Apple menu → About This Mac and look at Chip or Processor.
Step 2. Open the downloaded Resolutecall-1.0.1.dmg file and drag Resolutecall into the Applications folder.
Step 3. Open ResoluteCall from Applications or Launchpad. The app is signed and notarized by Apple, so macOS will ask you to confirm once — click Open.
Step 4. Allow microphone and notification access when asked, then sign in with your extension and password. Requires macOS 10.15 or later.
Tap Download on the App Store or Get it on Google Play above, install ResoluteCall, and sign in with your extension and password. Allow microphone and notification access when asked so you can take calls and receive messages.
To learn how to use the ResoluteCall app and log in properly, visit our guide: